Resolve and Review Incidents
Once the immediate issue is fixed and services are stable, it is time to close the incident and set your team up for post-incident learning.
A well-closed incident has a complete record, all action items captured, and a foundation for the retrospective.
Resolve the Incident
- Confirm the fix is stable, check monitoring dashboards and verify that the symptoms have not returned.
- On the Incident Details page, update the status to Resolved.
- Review the incident record before closing:
- Key events, Are the major milestones captured (root cause found, mitigation applied, service restored)?
- Action items, Has every follow-up task been logged with an owner and due date?
- Summary, Does the incident summary reflect what actually happened, not just the initial description?
- Click Save.
Review AI-Generated Post-Mortem
When you close an incident (status → Closed), AI SRE automatically generates a structured post-incident review. The AI synthesizes the complete incident record into a comprehensive retrospective document with six fixed sections:
- Summary: High-level overview of what happened and when
- Impact: Affected services, users, and business impact
- Root Cause: Identified cause based on RCA theories and investigation findings
- Resolution: How the incident was mitigated and resolved
- Insights: Key observations and patterns discovered during the incident
- Lessons Learned: Actionable takeaways for preventing similar incidents
How Post-Mortem Generation Works
The AI pulls context from multiple sources to create a complete picture:
- Incident metadata: Title, severity, timestamps, impacted services
- RCA theories: Root cause candidates identified by the RCA Change Agent
- Timeline events: Pages, escalations, runbook executions, and key milestones
- Incident notes: Up to 200,000 characters of notes (newest content preserved if truncated)
- Action items: Follow-up tasks captured during the incident
Viewing the Post-Mortem
- After closing an incident, the AI begins generating the post-mortem automatically.
- Navigate to the Postmortem tab on the incident detail page.
- The UI updates in real-time as the AI generates each section.
- Once complete, review the post-mortem for accuracy and completeness.
You can also manually regenerate the post-mortem from the incident detail page if you update incident notes or add new information after the initial generation.
The post-mortem quality depends on the completeness of your incident record. If the AI lacks sufficient data for any section, it will state this clearly rather than fabricating content. Enable the AI Scribe Agent early in the incident to capture comprehensive timeline data.
Review AI Scribe Outputs
The AI Scribe Agent works alongside you during the incident and generates outputs automatically:
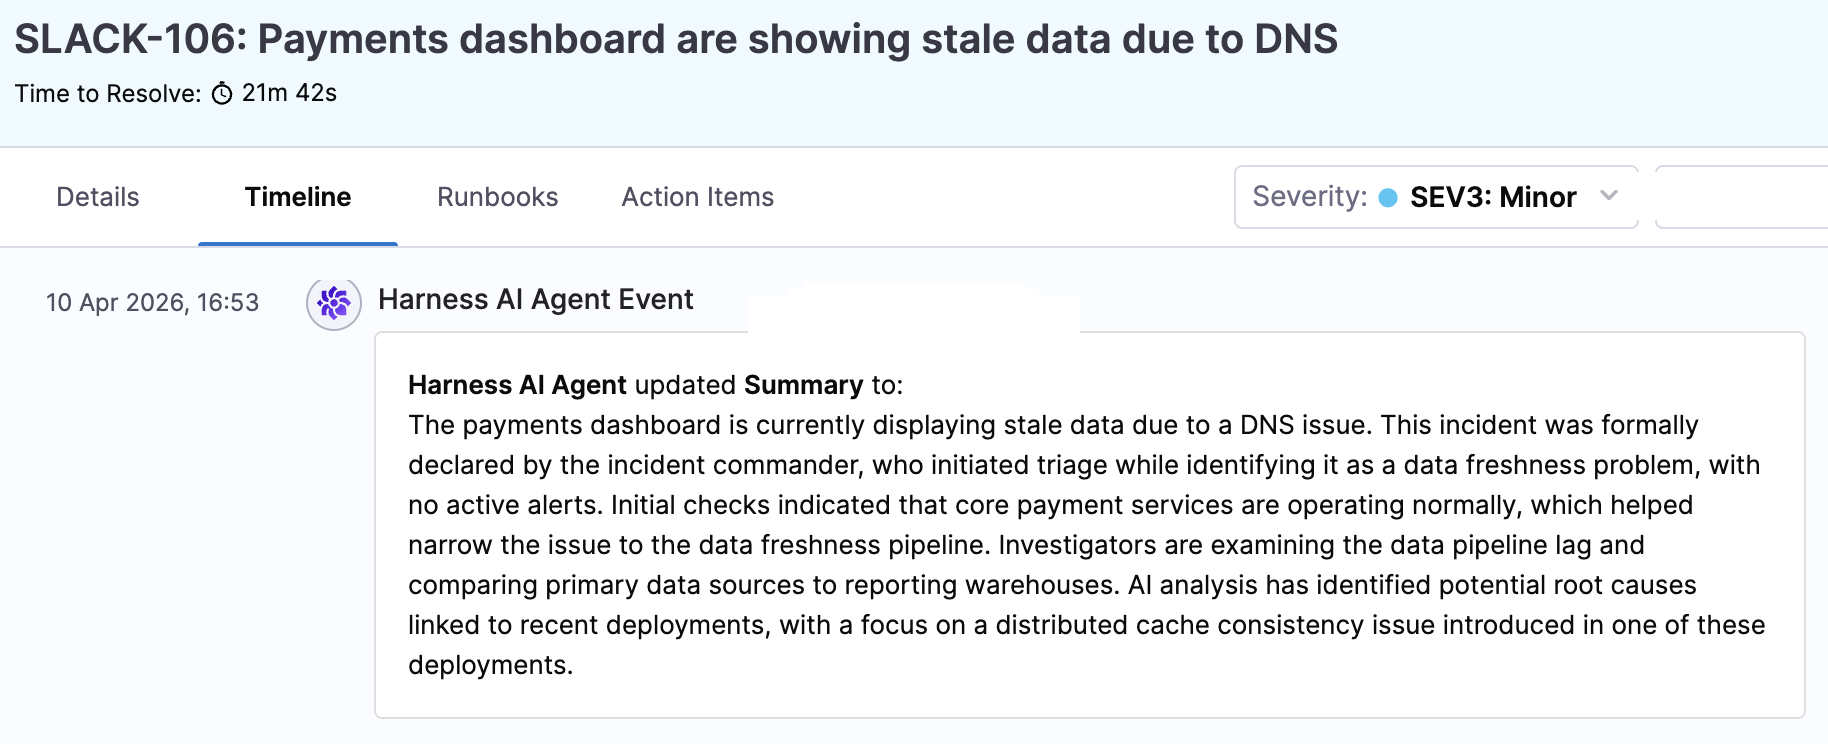
- AI Summary: A synthesized summary of the incident drawn from channel conversations, status changes, and key events.
- Timeline: A structured timeline reconstructed from incident activity.
- Key Events: Significant discoveries, mitigation actions, and decisions identified from communications.
Access these from the AI Summary and Timeline sections on the incident details page. Review them for accuracy and completeness, they are generated from what was captured during the incident, so the quality of your real-time documentation directly affects the quality of these outputs.
Contribute to Post-Incident Learning
Resolving the incident is the end of the immediate response, but the beginning of the learning cycle:
- Complete your action items, Follow through on the tasks assigned to you within their deadlines. Check the Action Items tab periodically.
- Participate in the retrospective, Bring your perspective on what happened, what went well, and what could be improved. The AI Scribe draft gives the team a head start, but human context is essential.
- Flag runbook improvements, If a runbook was missing steps, had outdated instructions, or did not cover the scenario you encountered, let your administrator know so it can be updated.
- Share knowledge, If you learned something that would help the broader team (a new debugging technique, a service behavior you did not expect, a monitoring gap), communicate it through your team's usual channels.
Next Steps
- Managing Incidents in Slack, Slash commands for managing incidents from Slack.
- AI Scribe Agent, Full documentation on AI-powered incident documentation.
- Runbook Library, Browse and understand your team's response playbooks.