Delay Action
What is a Delay Action?
A Delay Action introduces a configurable time delay during chaos experiment execution. It pauses the experiment workflow for a specified duration, allowing you to:
- Create time gaps between different experiment phases
- Allow systems to stabilize after fault injection
- Wait for monitoring systems to capture metrics
- Simulate real-world scenarios where operations require time
- Control the timing and pacing of experiment execution
When to Use Delay Actions
Delay actions are particularly useful in the following scenarios:
System Stabilization
- After Fault Injection: Allow time for systems to react to injected faults
- Before Validation: Wait for systems to reach a steady state before running probes
- During Recovery: Give systems time to recover from chaos events
Monitoring and Observability
- Metric Collection: Allow monitoring systems to collect sufficient data points
- Alert Processing: Wait for alerting systems to detect and process anomalies
- Dashboard Updates: Give dashboards time to reflect system state changes
Realistic Scenarios
- Gradual Rollouts: Simulate gradual deployment or rollback scenarios
- User Behavior: Model real-world user interaction patterns
- System Dependencies: Account for dependencies that have inherent delays
How to configure a Delay Action
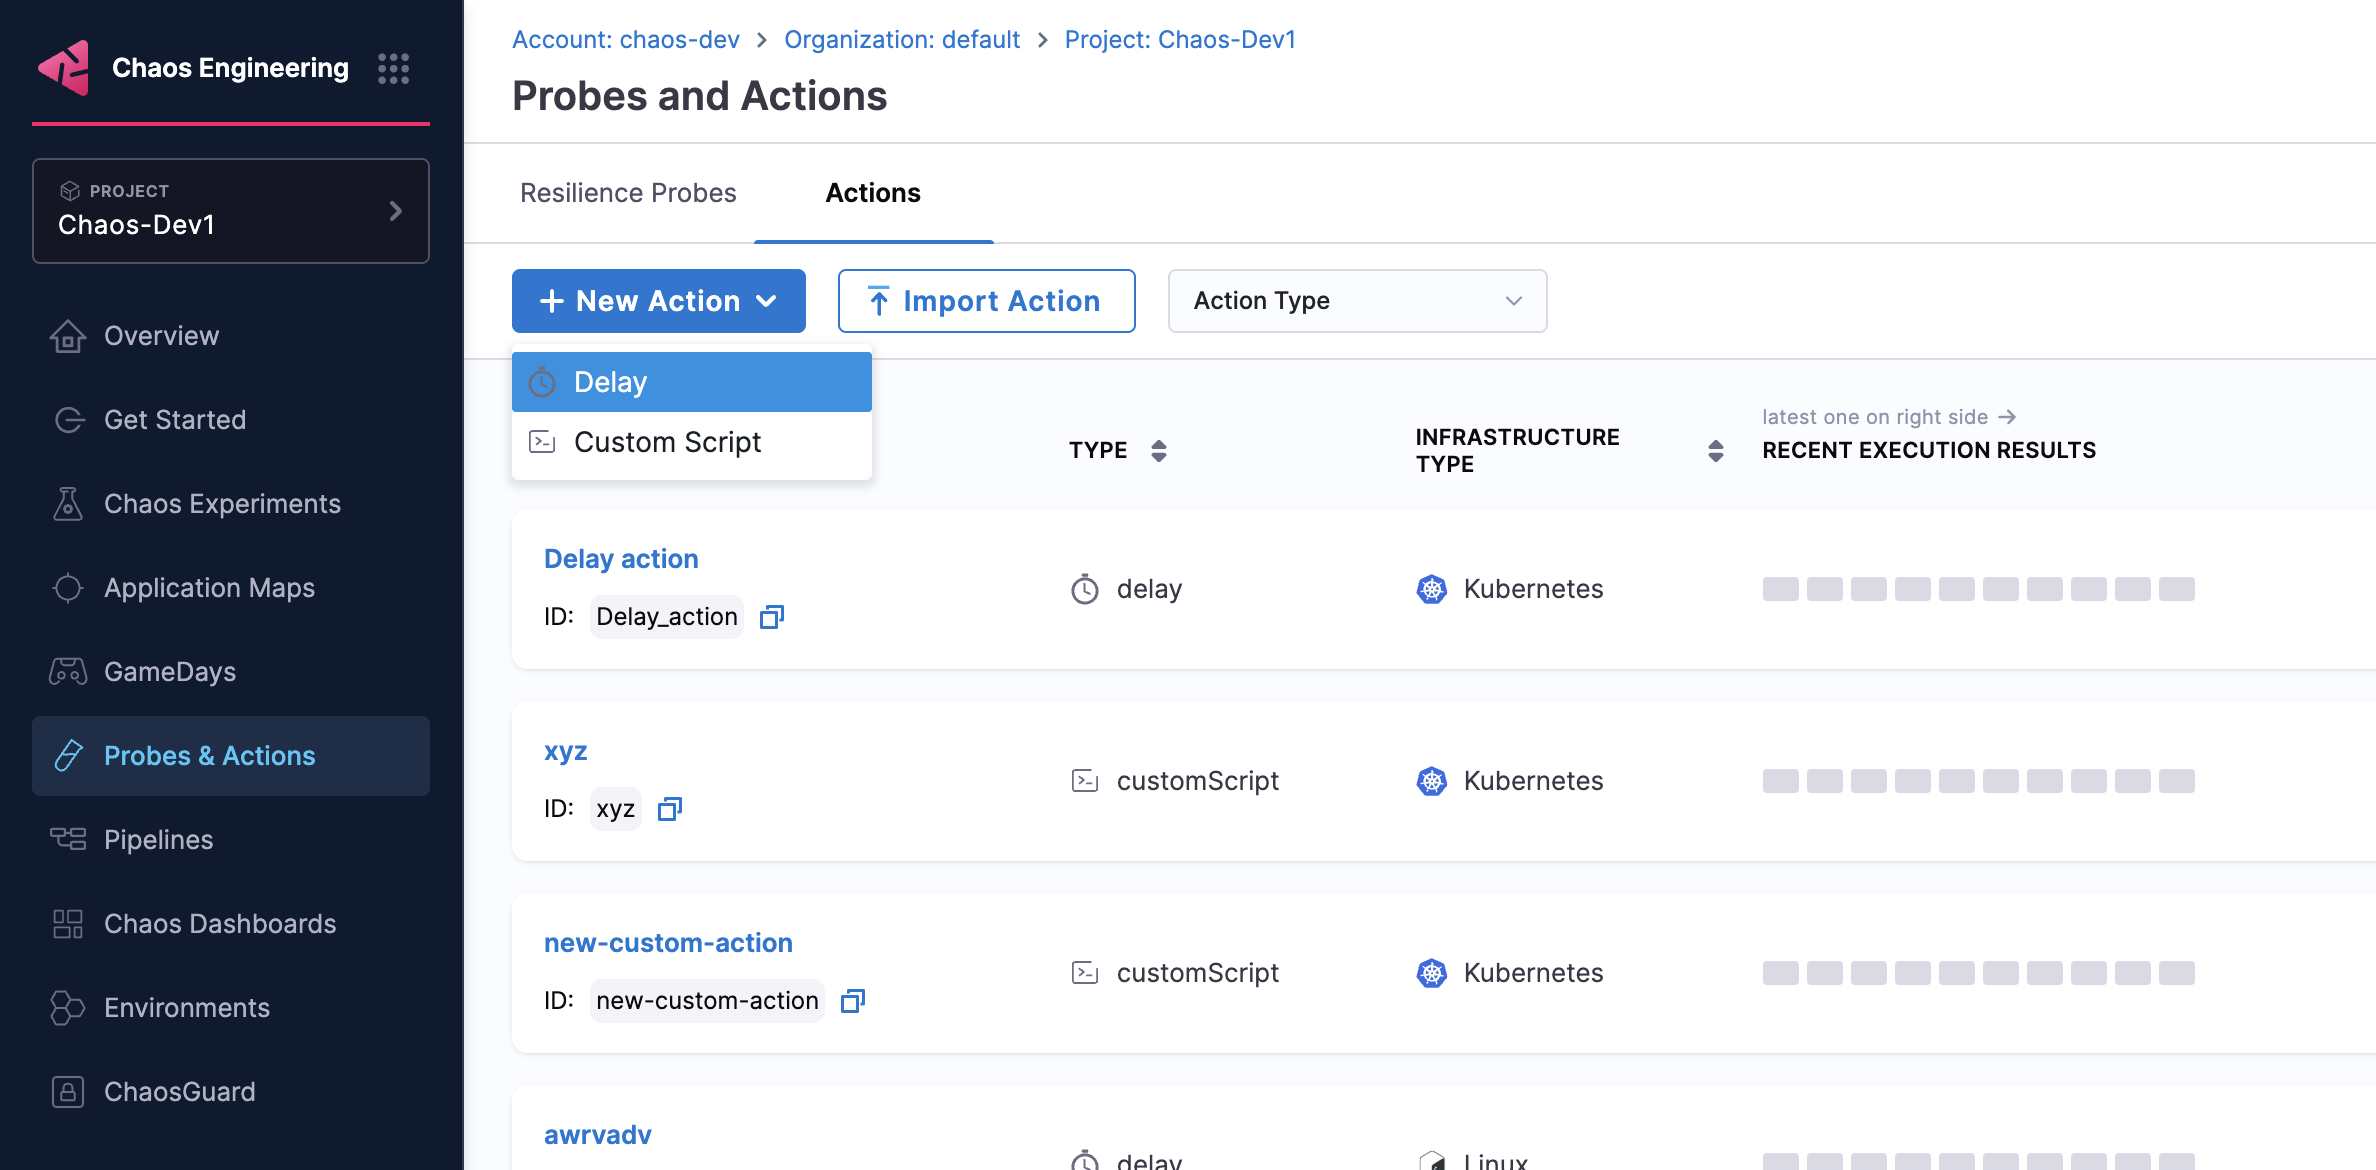
Step 1: Create a New Action
-
Navigate to your Probes & Actions and go to the Actions tab
-
Click New Action and select Delay from the dropdown.
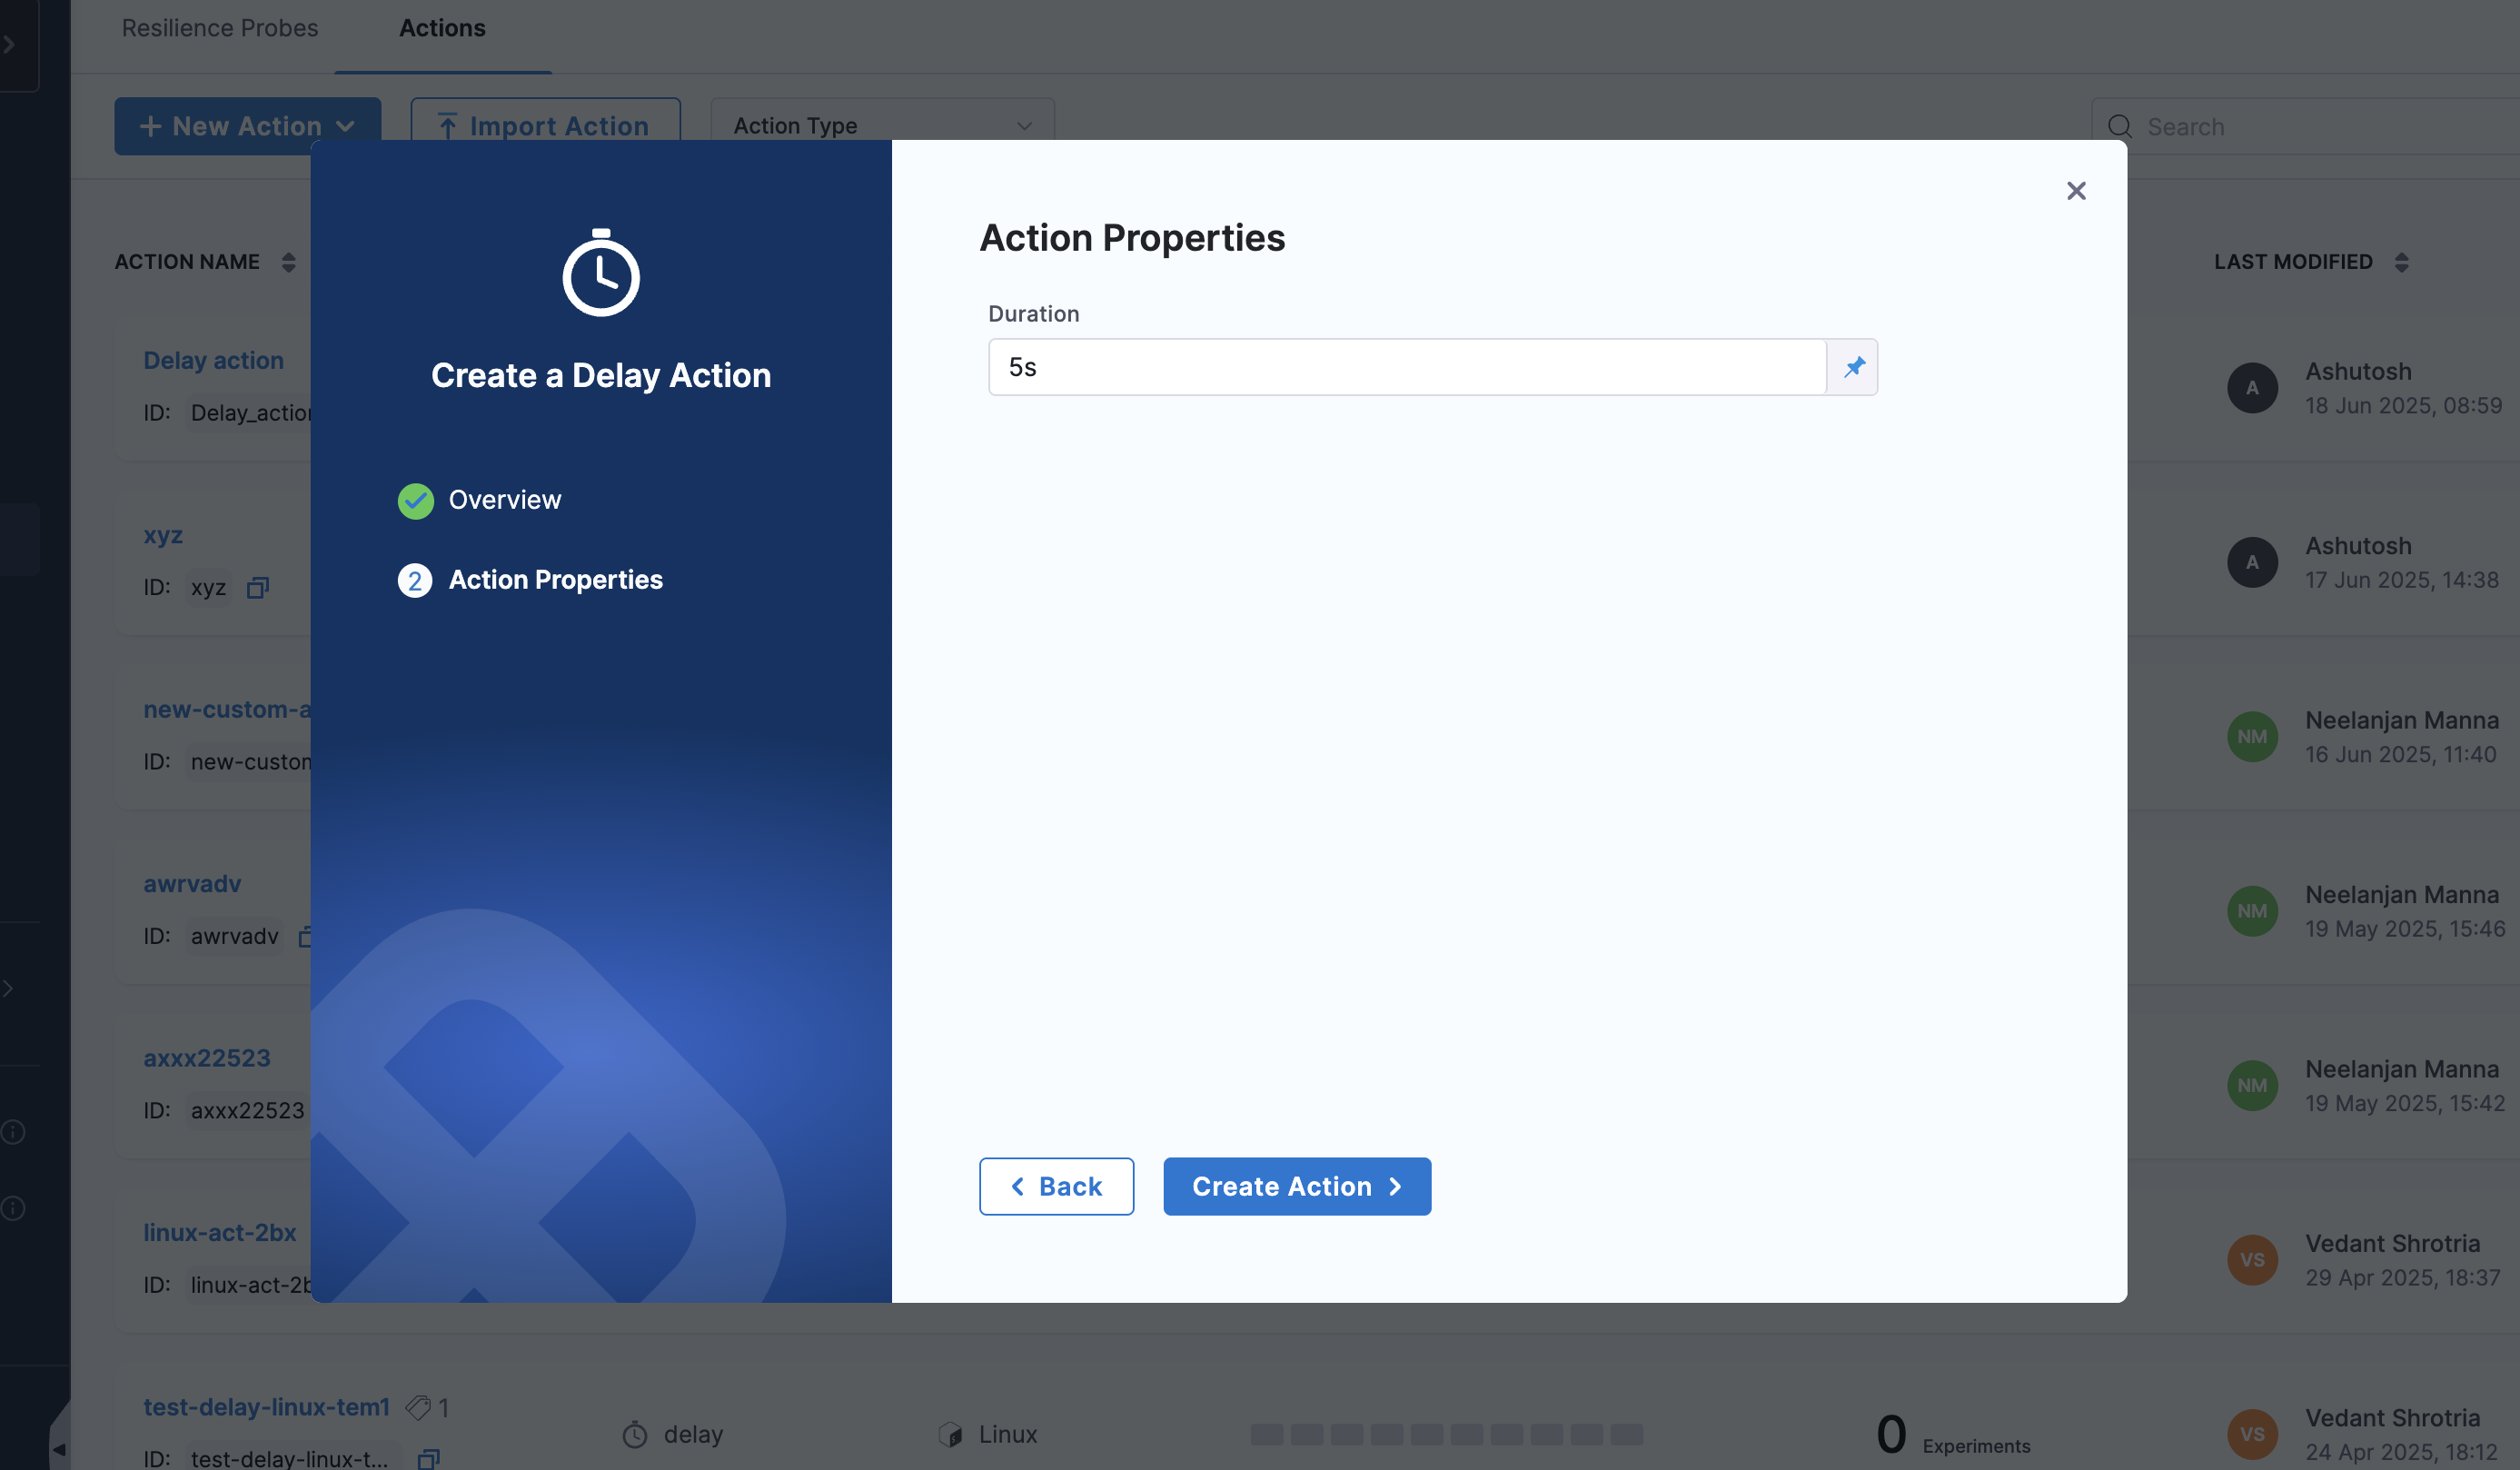
Step 2: Configure Delay Parameters
Configure the following parameters for your delay action:
-
Action Name: Provide a descriptive name for the delay action (e.g., "Wait for system stabilization")
-
Infrastructure Type: Select the target infrastructure (e.g., Kubernetes)

-
Duration: Specify the delay duration
Step 3: Position the Action
Place the delay action at the appropriate point in your experiment workflow:
- Before Faults: To prepare systems before chaos injection
- Between Faults: To create gaps between different fault injections
- After Faults: To allow systems to stabilize before validation
Monitoring Delay Actions
Timeline View
- View delay execution in the experiment timeline
- Track delay start and completion times
- Monitor overall experiment duration impact
Execution Logs
- Review delay action logs for execution details
- Check for any issues during delay execution
- Validate that delays are executed as configured
Common Patterns
Progressive Delays
Use increasing delay durations for progressive fault injection:
Fault 1 → 30s delay → Fault 2 → 60s delay → Fault 3 → 90s delay
Recovery Windows
Create recovery windows between fault phases:
Chaos Phase → 2min delay → Validation Phase → 1min delay → Cleanup Phase
Monitoring Intervals
Align delays with monitoring collection intervals:
Fault Injection → 30s delay (metric scrape interval) → Probe Validation
Next Steps
- Learn about Custom Script Actions
- Explore experiment timeline view (see Experiments documentation)
- Create experiments with actions